
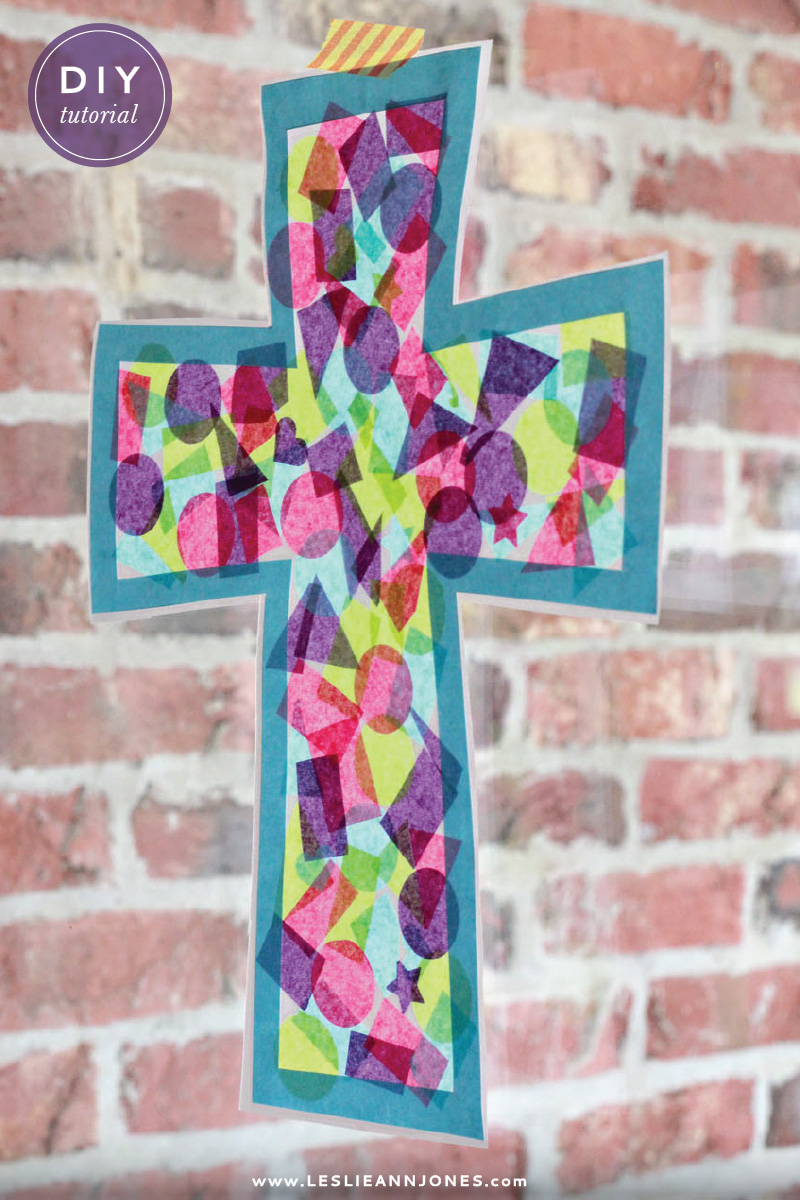
When I started thinking of things I could do to prepare my girls for Easter, this simple faux stained glass cross came to mind. I remember making these at church when I was a little girl, and working on them with my girls brought back fond memories.
This craft is super simple and lots of fun for busy little fingers. I took care of all the cutting for the girls, and they had a ball placing the confetti and decorating their crosses. Sadly, I didn't get any pictures of them at work. I was too busy being a mom! Next time.
To make some confetti stained glass crosses of your own, you'll need the following materials:
- Colorful tissue paper, cut into various sizes and shapes - I used a circle punch and these heart and star punches to add a bit of variety.
- Cross template (12x12 template // 8.5x11 template)
- 1 sheet of colored 12x12 or 8.5x11 paper
- 2 pieces of contact paper, cut to size (depending on which cross template you use)
- Scissors
Let's get started!
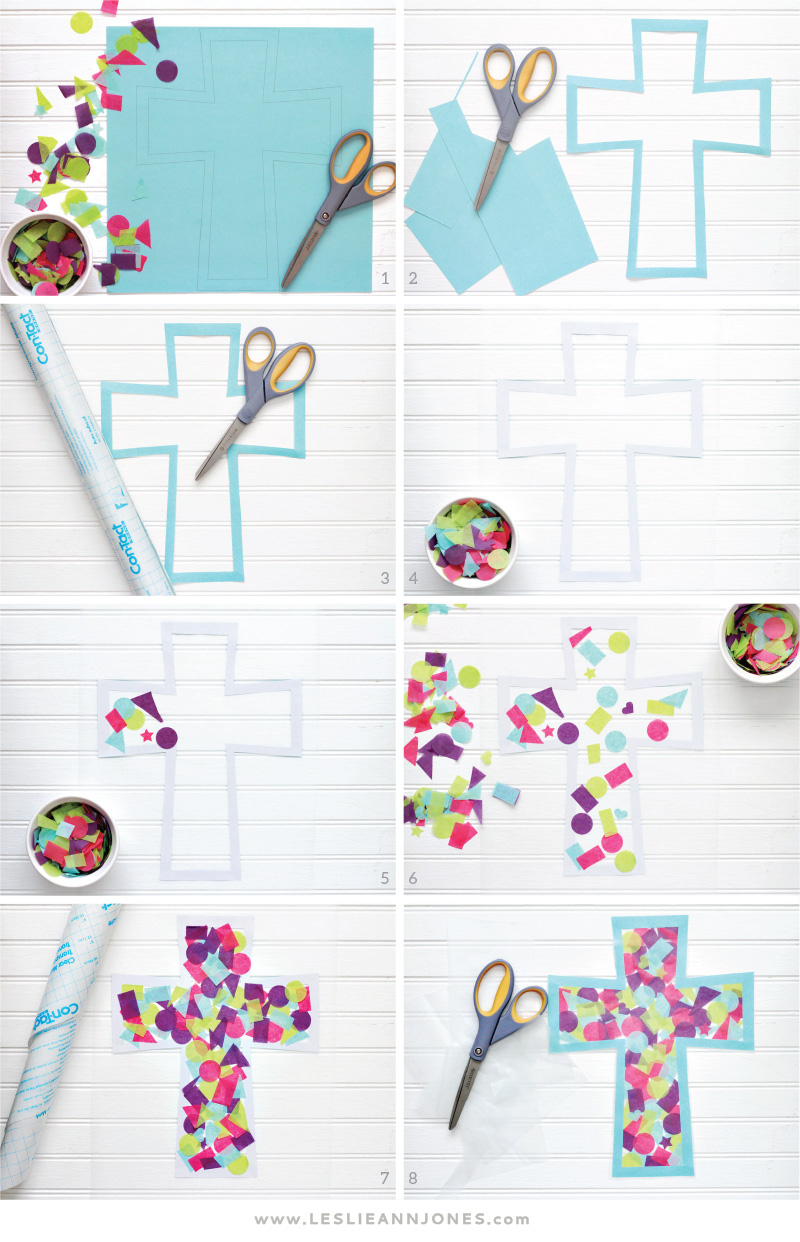
Step 1 // Gather your materials and print the cross template on colored paper. If you want to use scrapbook paper, but your your printer won't allow you to print on 12x12 paper, you can always use the template as a guide to draw your own crosses by hand.
Step 2 // Next, cut along the line for the outer cross. When you finish, cut out and remove the inner cross.
Step 3 // Carefully peel the backing off one sheet of contact paper.
Step 4 // Place the cross border facedown on the sticky side of the contact paper, smoothing out any wrinkles as you go.
Step 5 // Begin placing tissue paper confetti inside the border.
Step 6 // Cover the entire cross with confetti.
Step 7 // Peel the backing off the other sheet of contact paper and gently smooth it over the back of your cross.
Step 8 // Trim the excess contact paper, and your cross is complete!

I hope you enjoy making these crosses with these little ones! May they brighten up your home throughout the entire Easter season.
If you liked this project, you should browse through the rest of my tutorials. Don't forget to sign up to get updates in your inbox and never miss a tutorial!
Until next time, grace and peace.